January 12, 2024
AM00 3D printer Index
DaijiroHashimoto
Description welcome to laboratory

memo
Diameter
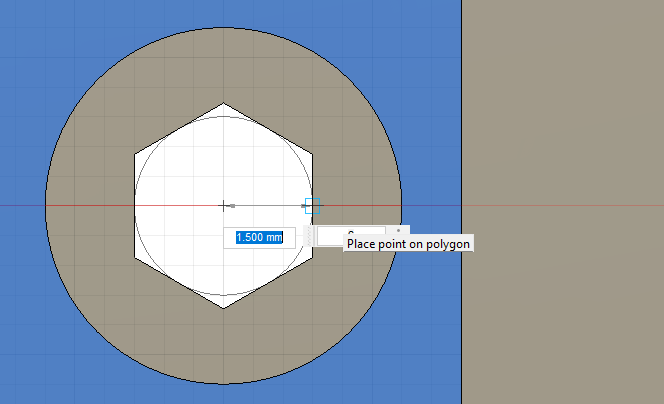
M3 1.5mm
M4 1.95mm
・Use resister to buckle down
}
I installed a new plugin Display Posts
https://wordpress.org/plugins/display-posts-shortcode/
You can create posts list as ↓↓↓↓↓↓↓↓↓↓↓↓↓↓↓↓↓↓↓↓↓↓
↑↑↑↑↑↑↑↑↑↑↑↑↑↑↑↑↑↑↑↑↑↑↑↑↑↑↑↑↑↑↑↑↑↑↑↑↑↑↑↑
How to
1, Insert “Shortcode”
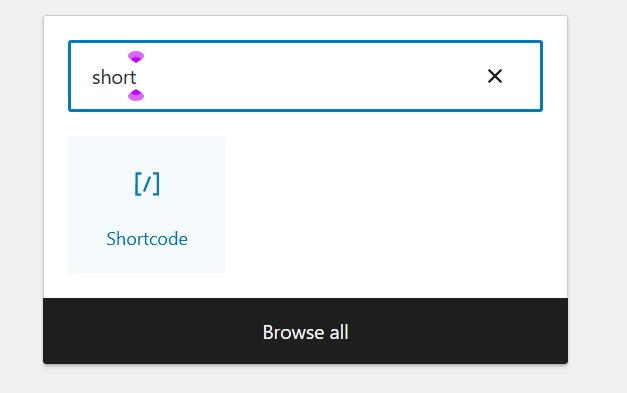

2, Then typing

※Category name is Slug name on admin page

Finally there are many options of List.
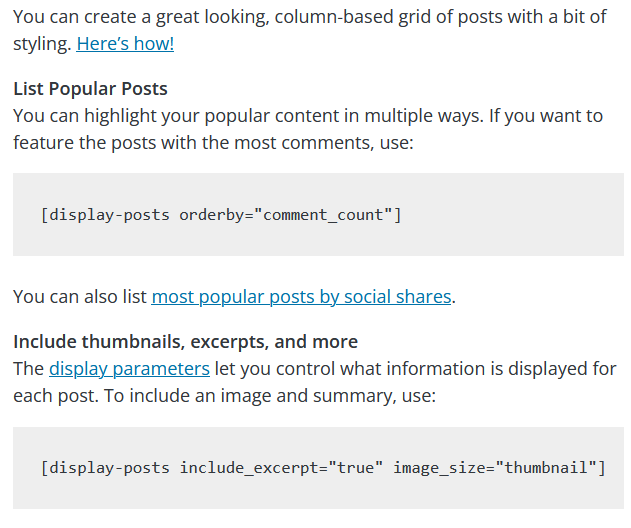
Have a good day!
購入したい理由
・色塗るのが面倒
・2台同時に稼働できる
・壊れて時のバックアップ(3Dプリンターが使えないと開発が大幅に停滞する)
普段は1色で十分なので今あるK1 Maxがメインになる
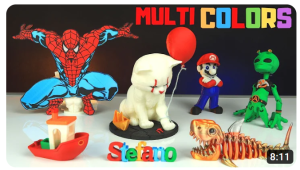
カラー3Dプリンタの種類
マルチカラープリンタの種類
1, 複数のフィラメントを併用できるタイプ
2, 印刷時レイヤーごとにインクで塗るタイプ
1についてエクストルーダー(材料を吐き出す部分)が2個ついているものと
一つのエクストルーダーでフィラメントを完全に入れ替えて行うものがある。
エクストルーダー2基はあまりメジャーではない
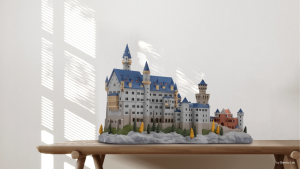
Bambu Lab社より4色(最大16色)印刷可能な3Dプリンターが発売された
https://bambulab.com/ja-jp
Bambu P1S, X1 Carbon
AMS(Automatic Material System)により4種類のフィラメントを自動交換できる

1台6万円でこれを4つ用意することで最大16種類を実現している。
ラインナップ
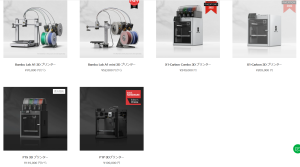
価格もそこまで高くない。
メリット
印刷速度500 mm/s、単色印刷であれば普通の3Dプリンターとして使える。
フィラメントに制約がなく社外品も使える。
各色のフィラメントを用意する必要はあるが、普通に印刷に使えばいいので余計なコストにはならない。
デメリット
多色印刷をする場合、フィラメント交換、充填し、材料を消耗する。もちろんそれだけ時間がかかる。
機種について
https://bambulab.com/ja-jp/compare
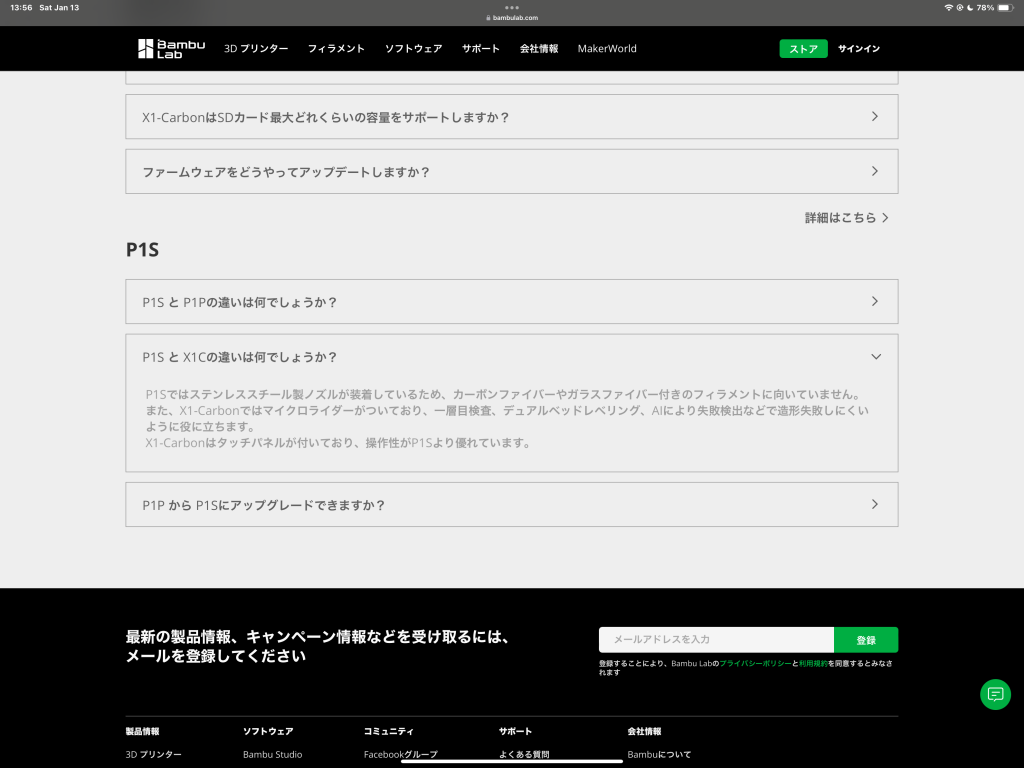
P1S(16万)とX1C(25万)の差はほとんどない。
造形サイズW256×D256×H256
速度500mm/秒
2について
ダヴィンチ Color mini, ダヴィンチ Color
それぞれ25万、72万
https://www.xyzprinting.com/ja-JP/product/da-vinci-color-mini
メリット
CMYインクで塗るため1600万色フルカラー
デメリット
印刷が遅い 170 mm/s
インクは純正品しか使えない
造形サイズが小さい 130 x 130 x 130 mm (Color mini,25万)
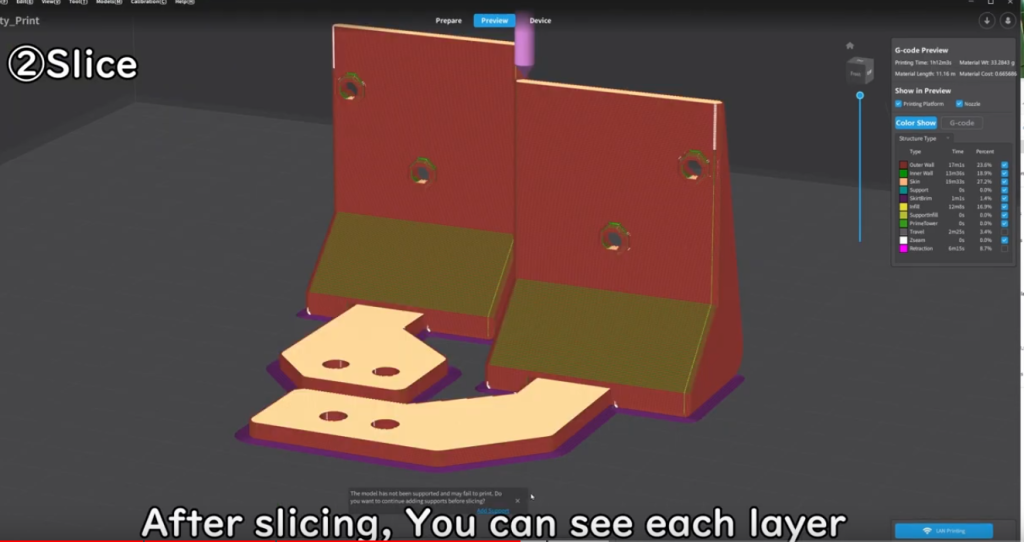
In short, direction is important.
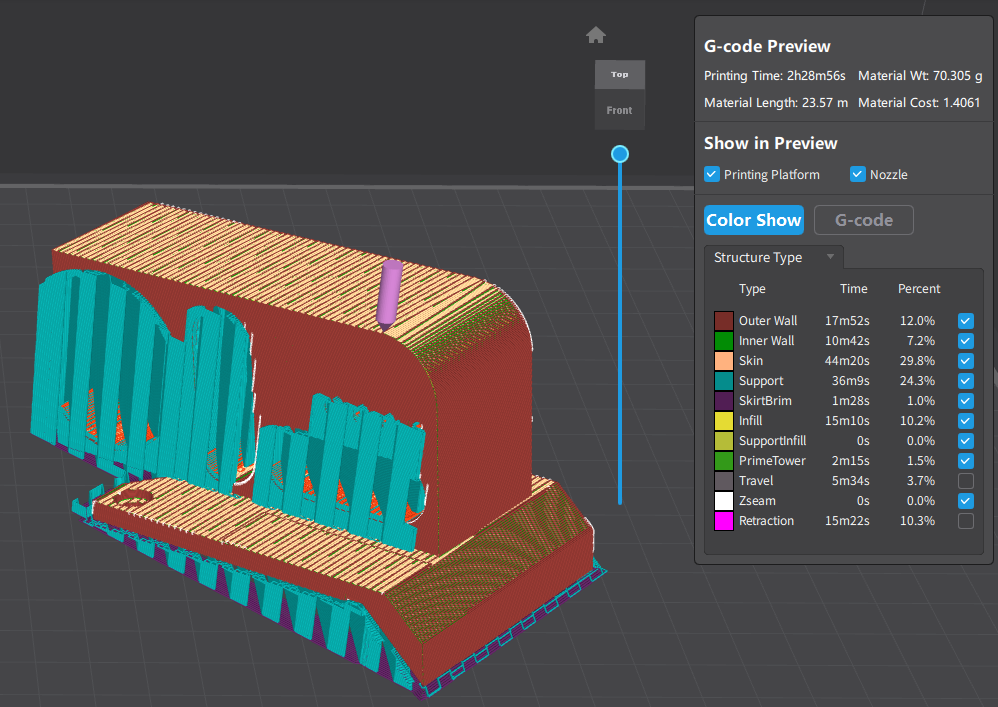
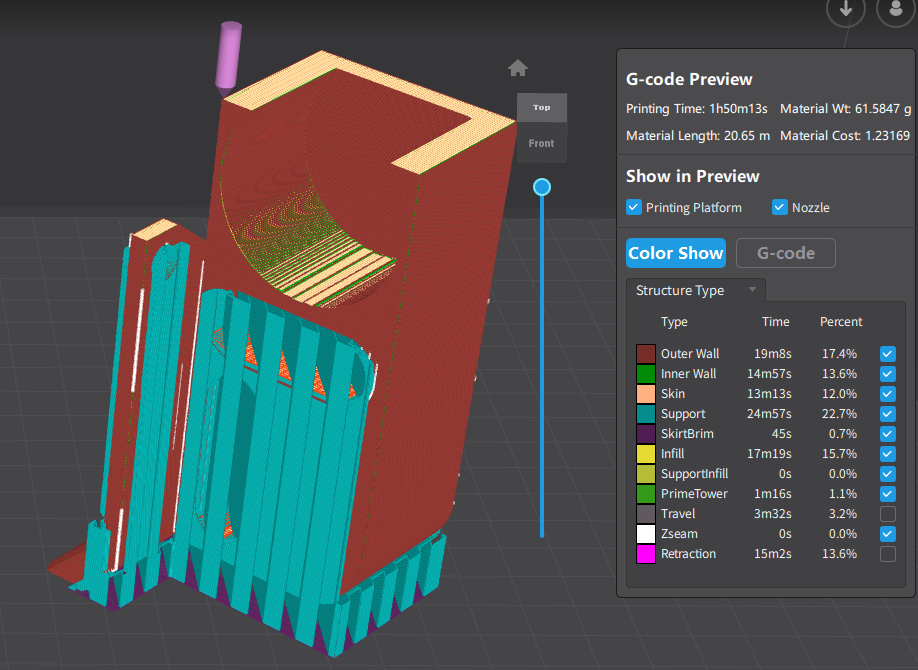
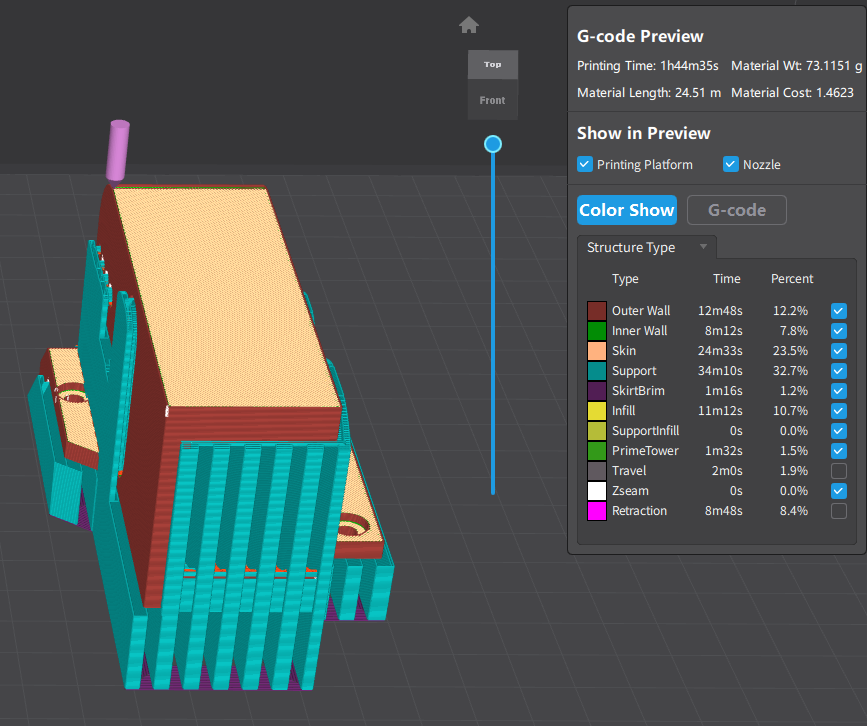
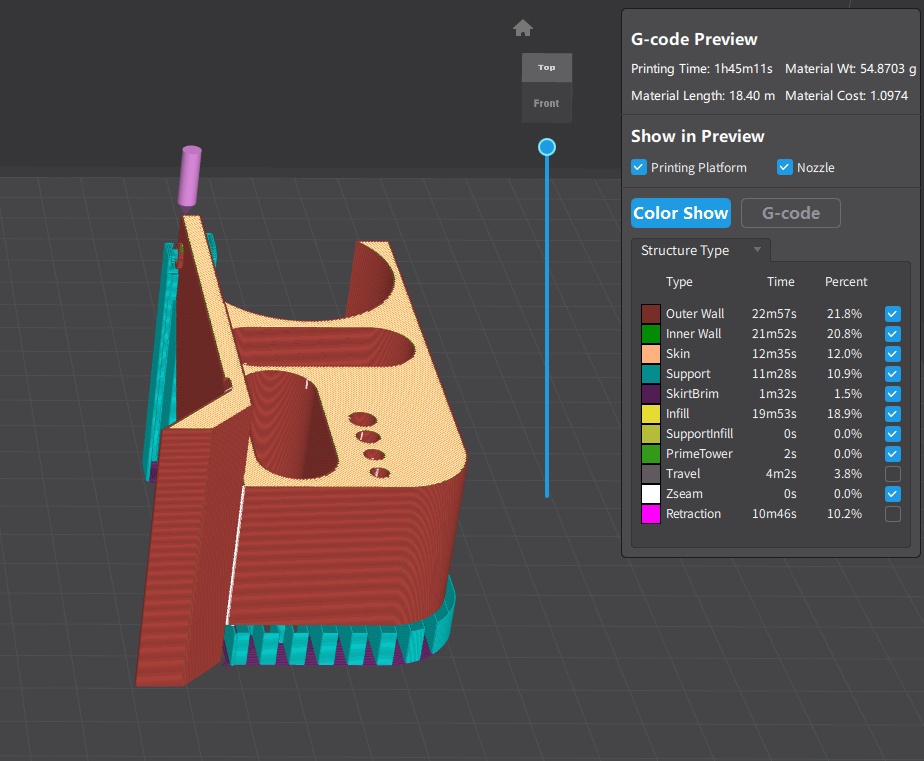
These are same model and the difference is direction.
You can see “Printing Time” and “Material Wt” (Material Length, Material Cost are same meaning).
Compare these Sliced data,
1 is take 30 minutes more than others._______ (① 2h28m, ②1h50m, ③1h44m, ④1h45m)
1, 3 are consume more Material Wt than 3 or 4. (① 70g, ②61g, ③73g, ④54g)
Printing time increases with print amount. The difference of amount of Material comes from support size at this time.
The higher the height, the more likely it is to be misaligned layer by layer; although the 3D printer is accurate to the coordinates, it cannot place the filament properly depending on vibrations and the state of the previous layer’s modeling.
In these for direction, I prefer 4 at most. because it has less support and Because it’s a direction that seems stable and printable.
In conclusion when you choose direction of model, It would be better to try to keep the height low and provide less support.
Print parameter affects model accuracy and printing time.
Generally prioritizing speed sacrifices accuracy, prioritizing accuracy takes time.
If a model is difficult to print, it is less likely to fail if stable parameters are used.
I’ve gone on and on, but you don’t have to care about it.
At beginning, I plot my opinion.
I usually print at thickness 0.24mm.
I don’t care about accuracy or cleanliness, I just want printing quickly.
Even at this thickness I think printed parts has decent accuracy.
Of course, If you need more better print quality, it’s better set more thin thickness.
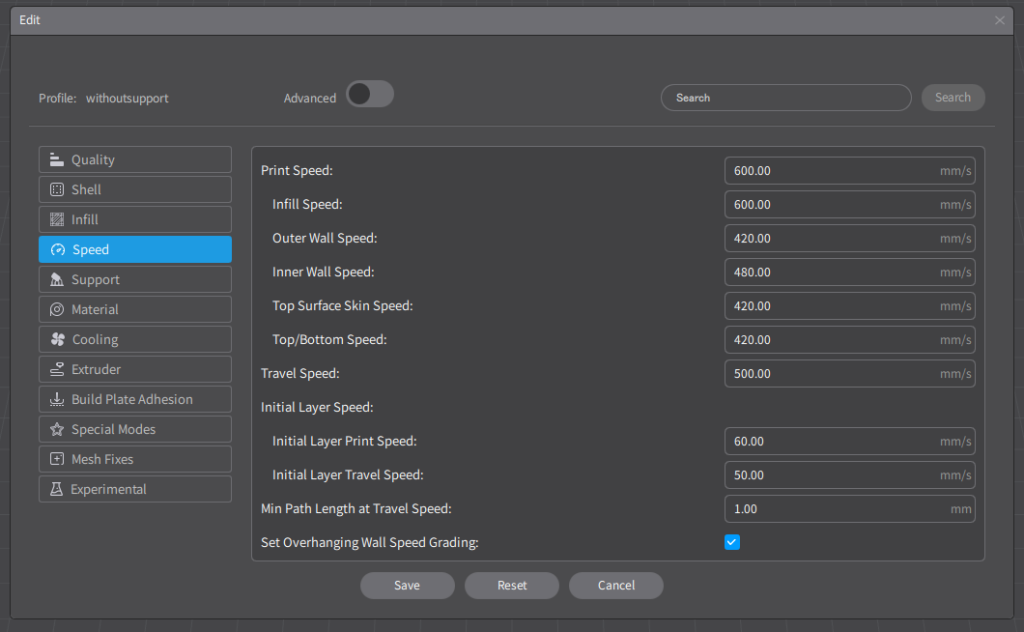
①Speed
・Print Speed →600mm/s
To less time for print.
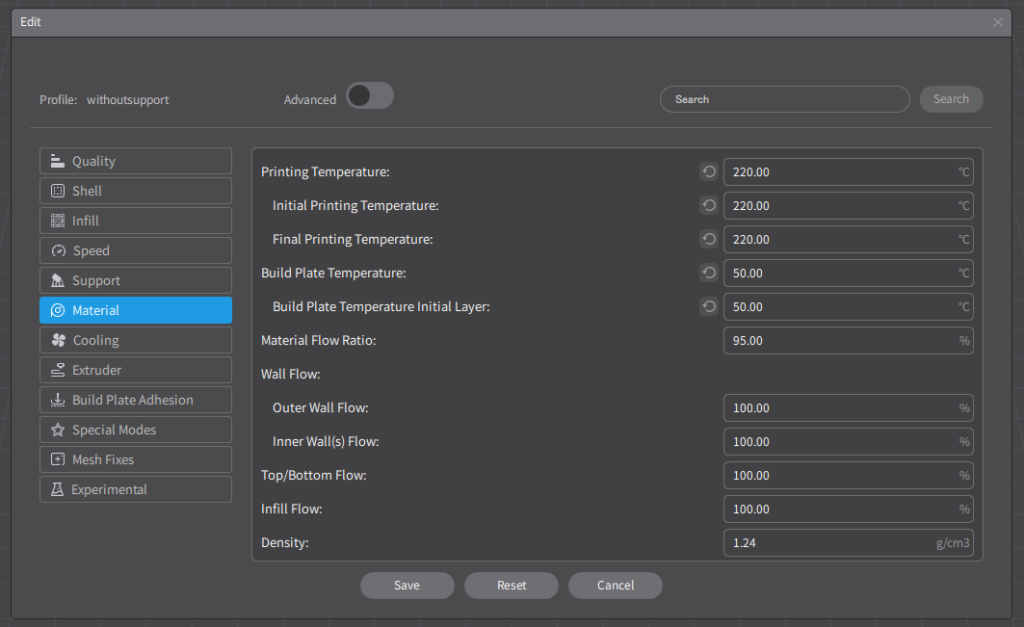
②Material
・Printing Temperture →220℃
・Initial Printing Temperture →220℃
Some people say print at low temparature make Longer life of consumables.
And I didnt find any difference of Printed parts.
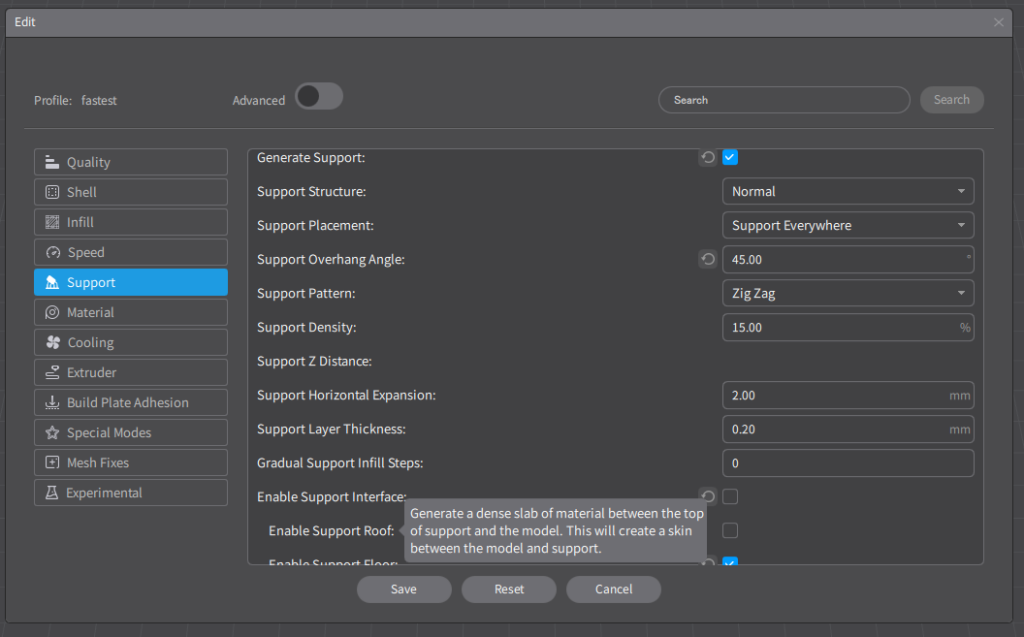
③Support
・Generate Support →☑
・Support overhang Angle →45°
・Enable Support Interface →□ off
If the model is difficult to print, It is better to use support.
But when use support, it takes more time and difficult to remove support and Areas that had support will be rougher.
It’s better to make shape that printable without support or separate two parts and use screw.
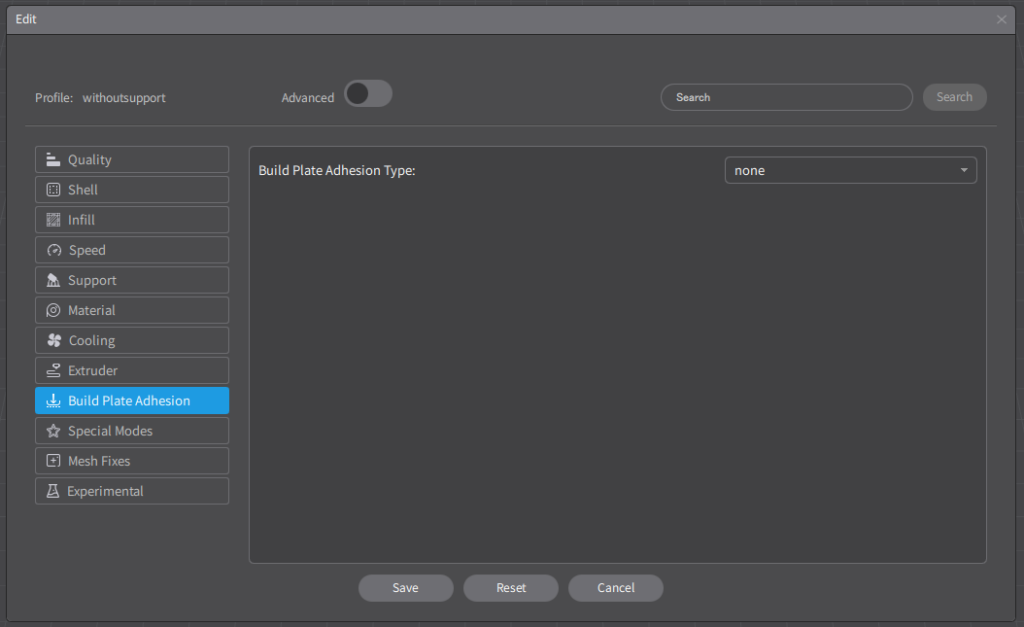
④Build Plate Adhesion
・Build Plate Adhesion Type →None
No need
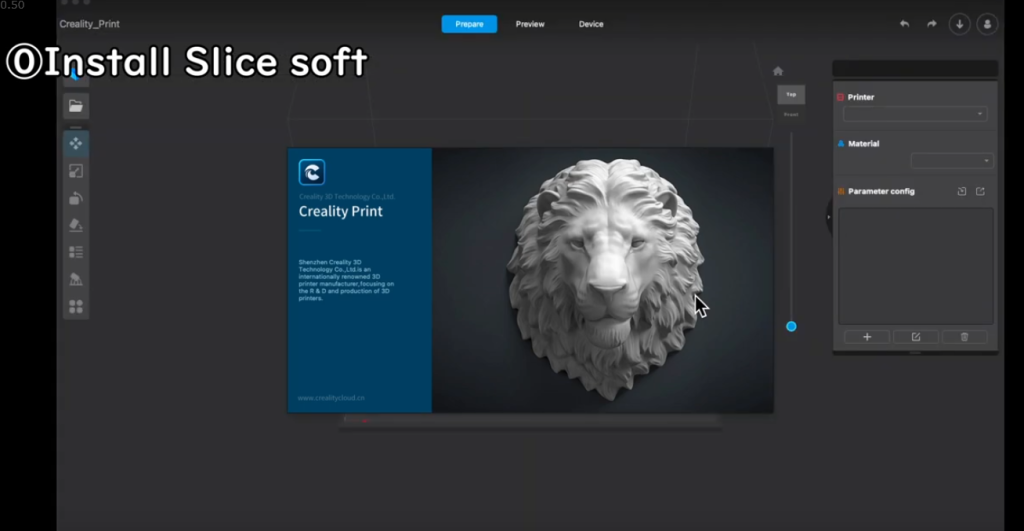
Install Creality Slice from
https://www.creality.com/pages/download-k1-max-flagship?spm=..page_1934481.products_display_1.1
You can download 3D data that shared on the internet.
Printables
https://www.printables.com/
Thingverse
https://www.thingiverse.com/
Or you make CAD software.
Software automatically make printing data. it slice data, add support and estimate time.
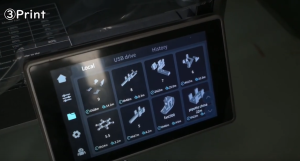

Plug USB Memory, then select data. Machine start print.
・モノタロウ
ホームセンター的な存在 大体何でもそろってる。
・Misumi
部品屋さん。ねじ1本から買える。3DデータもあるのでCADがしやすい。
・Misumi mevi
3Dデータをアップロードすると自動で切削/板金をしてくれる。
アルミ、ステンレスなどの金属やプラスチックを指定できる。
PTFE(テフロン、フッ素樹脂)、PEEK-エンジニアリングプラスチックなども選択できる。
・Switch science
ほどほどの品ぞろえ、即日発送で届くのが速い。
Arduinoは独自で永久保証なので頼もしい。(一度壊して交換した。)
・Marutsu
Digikeyと提携しているのでチップからなんでも買える。
サイトがとにかく遅いのでストレスがたまる。